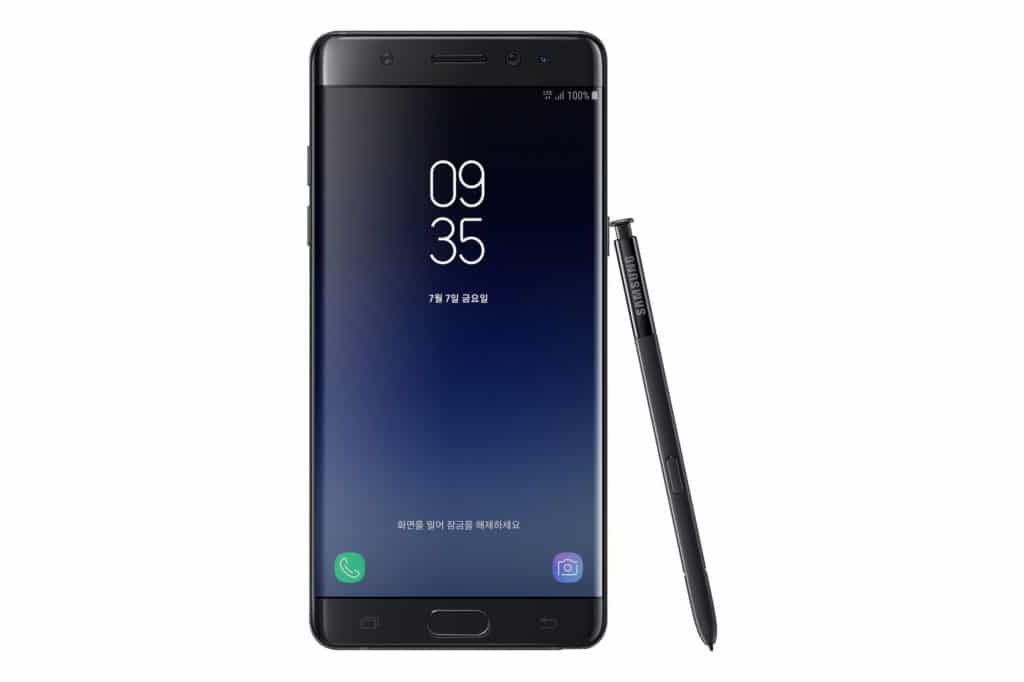
Setting up a new device can be a nightmare. You need to transfer over your settings, apps, data and any other personalisation you have done. For years, iOS users had it easy with the ability to synch data via iTunes and wirelessly via the iCloud. Samsung has however gone a step further with its Smart Switch app. It’s not only easy to use, but also can be done by connecting the older device to the Note 7 directly — the USB Type-C port allows for such data transfers!
There are two really easy and convenient ways to transfer data over from your old device to the new Galaxy Note 7. You can use a direct cable and transfer the data accordingly, or you can do it via a WiFi network.
Samsung Smart Switch supports Android 4.3 and above only for the following list of non-Samsung Android devices:

To transfer data via a Wi-Fi network
If you are using an Android device, you can transfer data using a Wi-Fi direct connection. This is relatively easy to do and Samsung has included all the checklists and simplified the functionality for the Galaxy Note 7. If you can’t wait till you get home, I would suggest you do a direct cable transfer since a public Wi-Fi network might not be the safest way to do this.
- Download Samsung Smart Switch either via the Google Play Store or Galaxy Apps
- Galaxy Note 7 has this pre-installed and shall prompt you during set-up itself
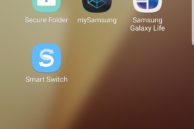
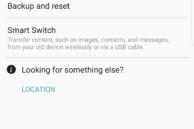
- If you skipped it during set-up, it can be found in the Settings menu under Cloud and accounts or as an app in the pre-installed folder labeled Samsung
- Samsung Smart Switch App
- Smart Switch in the Settings menu
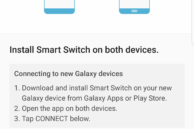
- Launch Smart Switch on both devices
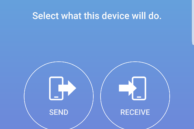
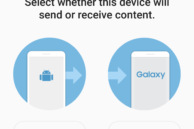
- Select the role each device will play
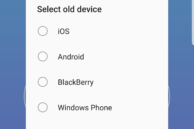
- For the Note 7 tap Receive and then select Android
- For the older device, select Send
- Select the role each device plays
- Select the older device as Android
- Select receive on older device
- Tap Connect for both devices
- The devices should connect automatically
- If they don’t, you may need to select the device names manually
- Also ensure they are within 8 inches of each other during this pairing period
- This should appear on the Note 7
- This should appear on your older device
- On the older Android device, select the content you would like to transfer over and tap Send
- Tap Receive on the Note 7
- The data transfer will then commence
- The screen will show you the percentage of transfer complete
- Once done, exit the app and check that all the information is there
It might take a while to transfer all the data over, though the Galaxy Note 7 supports faster network speeds, the old device might not be as fast. So enjoy a warm cup of coffee while waiting for the transfer to complete.
Note:
- Samsung Galaxy and other Android devices can transfer over
- Contacts, Calendar, Messages, Pictures, Videos, Music, Documents, App List
- Samsung devices can also transfer over:
- Memos, Alarm Settings, Call logs, Wallpaper and Lock Screen, WiFi Profiles, Story Album
To do a direct data transfer via a cable
This would be most helpful if you are very eager to use your Galaxy Note 7 and can’t wait to be in a Wi-Fi zone. Samsung has you covered on their end, provided you bring your current device’s data cable, since the Note 7 uses a USB Type-C connector.
Do ensure your current device as well as the Note 7 has a charge on it since transferring data will bleed the battery of the old device and the Note 7 by default charges the other phone when connected to it. If your Note is new and just out of the box, you might want to stick to the essentials before doing a full transfer later.
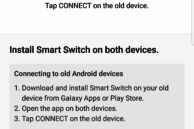
- Download Samsung Smart Switch either via the Google Play Store or Galaxy Apps
- Galaxy Note 7 has this pre-installed and shall prompt you during set-up itself
- If you skipped it during set-up, it can be found in the Settings menu under Cloud and accounts or as an app in the pre-installed folder labeled Samsung
- Samsung Smart Switch App
- Smart Switch in the Settings menu
- Launch Samsung Smart Switch on both devices
- Connect the two devices using the USB attachment that comes with the Note 7

- The older device will prompt you to allow an MTP connection, this is required for the data transfer
- The Note 7 will also prompt you to select that option on the older device

- The Note 7 will then search the older device for content that can be transferred

- Select the content you wish to transfer and press Send for the old device and Receive for the Note 7
- The data transfer will then commence
- The screen will show you the percentage of transfer complete
- Once done, exit the app and check that all the information is there
Though the Note 7 uses a USB Type-C connector, the older devices generally use a slower micro-USB port that does not support fast transfer rates. So if you don’t have something to do to fill your time, you might be staring at the screen for a while, edging it to go faster.
- Samsung Galaxy and other Android devices can transfer over
- Contacts, Calendar, Messages, Pictures, Videos, Music, Documents, App List
- Samsung devices can also transfer over:
- Memos, Alarm Settings, Call logs, Wallpaper and Lock Screen, WiFi Profiles, Story Album
Regardless of the method you choose to transfer data using a direct cable or Wi-Fi, you are still able to use other functions of the Galaxy Note 7. Though this might seem like an opportune time to play with your new phone, I would advice against using anything more than simple messaging apps.
That being said, Samsung has done a good job of simplifying the process and adding enough prompts and pointers on the Smart Switch app to make it extremely user friendly. The transfer rates were not as impressive since the Note 7 does have to slow speeds down to the older devices comfort zone, but it wasn’t an all too shabby process.
If you have any questions or run into difficulties, do not hesitate to leave a comment below.
