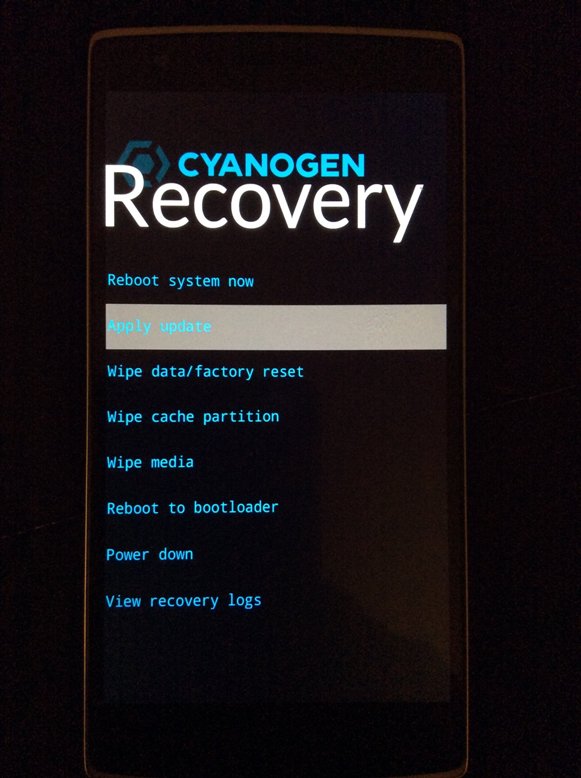
In a bid to make their ROM more ‘user friendly’, the CyanogenMod team disabled root access by default on their ROM with the release of CyanogenMod 12. I find this pretty strange, since installing CyanogenMod itself can be tedious for many new users.
The CyanogenMod team took this step thinking about the security of end users, and to a certain extent, it does make sense. Not to trouble advanced users with this change though, the CyanogenMod team has kept the steps to enable root access relatively simple in their ROM, albeit its buried inside the Settings menu.
Read: How to install CyanogenMod 13 on your Android device
If you are a CyanogenMod 13 (or CM12.1/12) user and are wondering how to enable root access on your device, follow the steps below:
Step 1: Head over to Settings -> About Phone and tap on ‘Build Number’ 7 times to enable the hidden Developer Options menu.
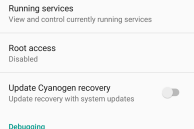
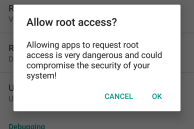
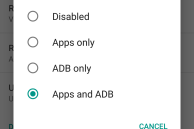
Step 2: Go back to Settings -> Developer Options, scroll down and select ‘Root access’ and then depending on your choice, tap on either Apps only or Apps and ADB.
Selecting the former will allow you to grant root access to only apps, while selecting the latter will allow you to enjoy root access when accessing your phone over ADB as well. When prompted, tap on ‘Ok’ to confirm your selection.
And that’s about it. Pretty simple, right? In case the option does not work for you, make sure to update your CyanogenMod 13 build to the very latest nightly available for your device.
