Asus recently launched the ZenFone Max Pro M2 in India. Priced at around Rs 15,000, the handset features a Snapdragon 660 chipset, a 12MP f/1.9 rear camera, and a beefy 5,000mAh battery. It is undoubtedly the best handset available in India right now around the 15k segment. And if you have got the phone recently, check out some tips and tricks for it.
These tips and tricks for the ZenFone Max Pro M2 will help you in getting the most out of the device and use it to the fullest. Unlike other devices in the same price range, the ZenFone Max Pro M2 runs on a near-stock build of Android which means it does not come with the same set of bells and whistles like its competitors. Nonetheless, there are still quite a few features to play around with on the phone.
Best ZenFone Max Pro M2 Tips and Tricks
Switch Between Multiple Apps
With up to 6GB RAM, the ZenFone Max Pro M2 is a multitasking beast. If you are a heavy multitasker, you are going to appreciate the ability to quickly switch between two open apps on the phone by simply double tapping the Recent apps key. It is a feature that Google first debuted with Nougat and its one of those little features that can have a huge impact on one’s productivity.
Customize Quick Settings
By default, you get 12 tiles in the Quick Settings panel of the ZenFone Max Pro M2. If you don’t like the default tiles or just want to reposition them, you can do so.
To customize the Quick Settings panel on the ZenFone Max Pro M2, expand it and tap the edit button — the pencil icon being displayed on the left of the Settings button. Once you have entered the edit mode, you can rearrange tiles by dragging and dropping them anywhere you like.
Similarly, you can add new tiles by dragging them from the bottom section to the top. To add custom tiles, you will have to use third-party apps from the Play Store like Quick Settings Tiles.
Enable Adaptive Brightness
For some strange reason, the adaptive brightness feature is turned off by default on the ZenFone Max Pro M2. Make sure to turn it on as adaptive brightness will ensure that your phone’s display will automatically increase/decrease its brightness depending on the ambient lighting.
Enable Adaptive Brightness from under Settings -> Display -> Adaptive Brightness.
Smart Screen
Asus has made a few feature additions of its own to stock Android. One such feature is Smart Screen which will ensure that the display of your ZenFone Max Pro M2 remains on as long as you are looking at the device and holding it upright. Enable Smart Screen from Settings -> Display and enabling the Smart Screen on option.

Ambient Display
You can enable the Ambient Display option on the ZenFone Max Pro M2 if you want the phone’s display to wake up everytime you receive a new notification. Enable Ambient display from Settings -> Display -> Ambient display.
Increase/Decrease Display Density
By changing the display density on the ZenFone Max Pro M2, you can tweak the amount of content being displayed on the screen. This occurs without adjusting the font size so the UI elements will not cut off as it generally happens when one changes the font size. By lowering the display density, you can display more information on the Mi A1’s display, while increasing it will make all the content on the screen bigger and easier to read.
To change the display density on your ZenFone Max Pro M2, head over to Settings -> Display size and depending on your preference, change it to ‘Small’ or ‘Larger’.
Night Light
If you use your ZenFone Max Pro M2 for reading content late into the night, you should make use of the Night Light feature. With Night Light enabled, there’s a yellow/amber tint on the display of your Max Pro M2. This helps in filtering out the harmful blue rays which can affect one’s sleep cycle. You can schedule the Night Light feature to automatically toggle itself on every night and then disable it every morning.
You can set up Night Light from Settings -> Display -> Night Light. You can even tweak the intensity of Night Light from this menu.
Screen Pinning
You can pin apps to the screen of your ZenFone Max Pro M2 before you hand over the phone to someone else for some work. By pinning an app, you will be able to lock a user into the pinned app and they will not be able to access any other data or open any other app on your device.
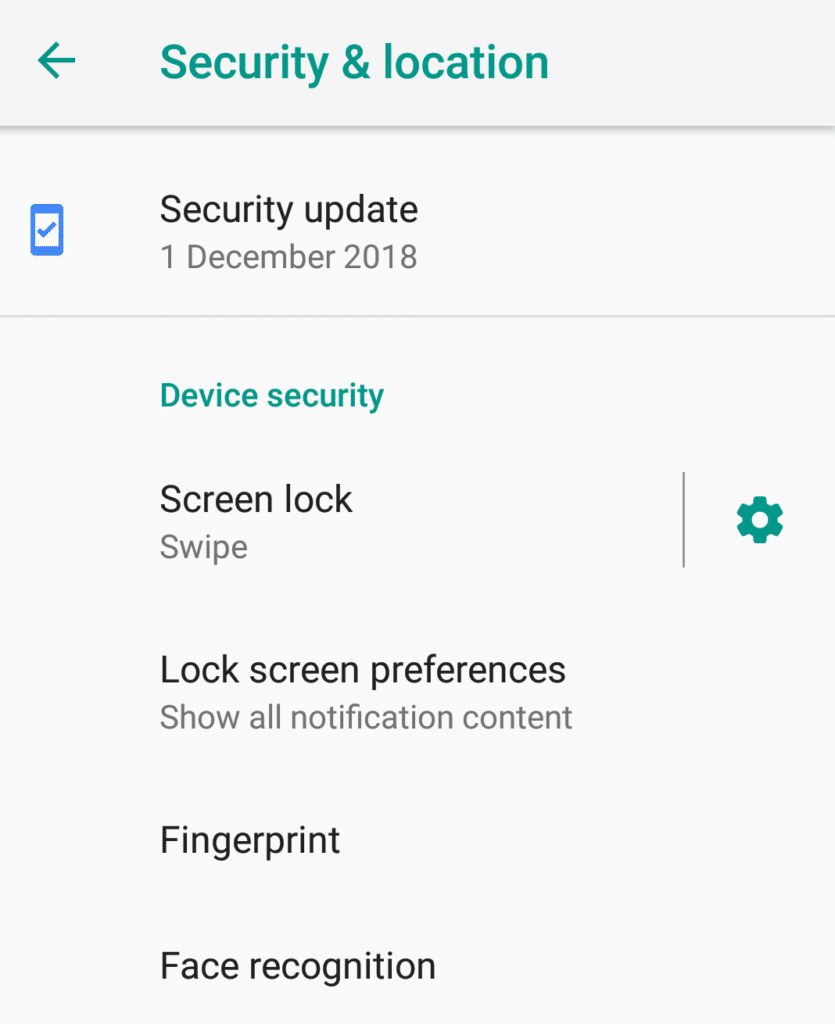
Before you can pin an app, you will have to enable Screen Pinning from under Settings -> Security & location -> Screen pinning. For additional security, make sure to enable the ‘Lock device when unpinning’ option. Then, to pin an app, open the Recent Apps view. From there, bring up the card of the app you’d want to pin and then tap the pin icon located on the bottom-right.

Free Space on Google Drive
Asus is bundling free 100GB of space on Google Drive for a year with the ZenFone Max Pro M2. When you first sign in with your Google account on the device, you will be able to redeem the free 100GB of Drive storage space. Remember that this storage space is only for a year, though it can come in handy if you store a lot of files and photos on Google Drive/Photos.
Battery Percentage
Want to show the battery percentage on the status bar of your ZenFone Max Pro M2? Head over to Settings -> Battery and enable the Battery Percentage option from there.
Face Unlock
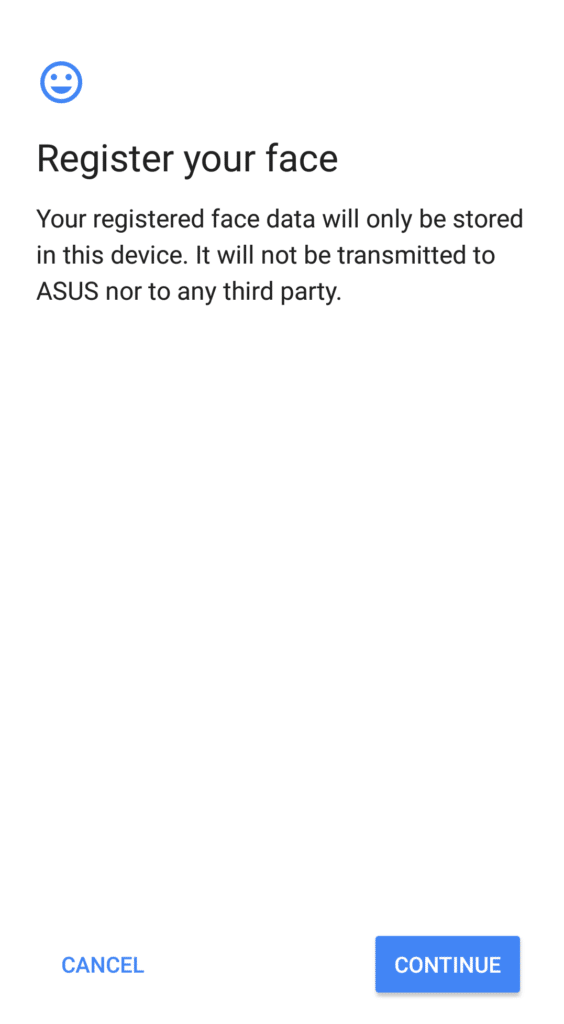
Despite running a stock build of Android Oreo, Asus has included face unlock on the ZenFone Max Pro M2. The company does not highlight the feature much but it does exist on the device. Head over to Settings -> Security & location -> Face recognition to set up face unlock on your ZenFone Max Pro M2.
Free Up Storage
The base variant of ZenFone Max Pro M2 comes with 32GB of storage along with a microSD card slot. This should be good enough for most users but if you are a heavy user, here’s a tip on how to easily keep sufficient storage space free on the handset.
Simply head over to Settings -> Storage and enable the Storage manager option. This will automatically ensure that all photo and videos which are backed up to Google Photos are deleted after a set period of time. The period of time can vary between 30 days, 60 days, and over 90 days which is going to be good enough for most users.

What are some of your favorite tips and tricks for the Asus ZenFone Max Pro M2? Drop a comment and share them with our readers!


