You can side-load applications that aren’t available in the Play Store or take screen recordings of your Android phone. Here’s what you can do with ADB, a guide on installing ADB on your windows machine.
Things You Can Do with ADB
Rooting: ADB plays a pivotal role in gaining root access to an Android device. You must generally have ADB adequately installed to root your phone or tablet. Once you have root access, you’ll use several ADB commands as you continue to hack and toy with it.
Push and Pull Files between your Android Device: Two simple commands, ADB push and pull, let you easily transfer files from your Android device. Again, this is more helpful when working with rooted devices since you can achieve the same end using Windows File Explorer or device management apps like AirDroid. Still, it’s a valuable, accessible tool for getting information from one device to another. And helps you learn commands along the way.

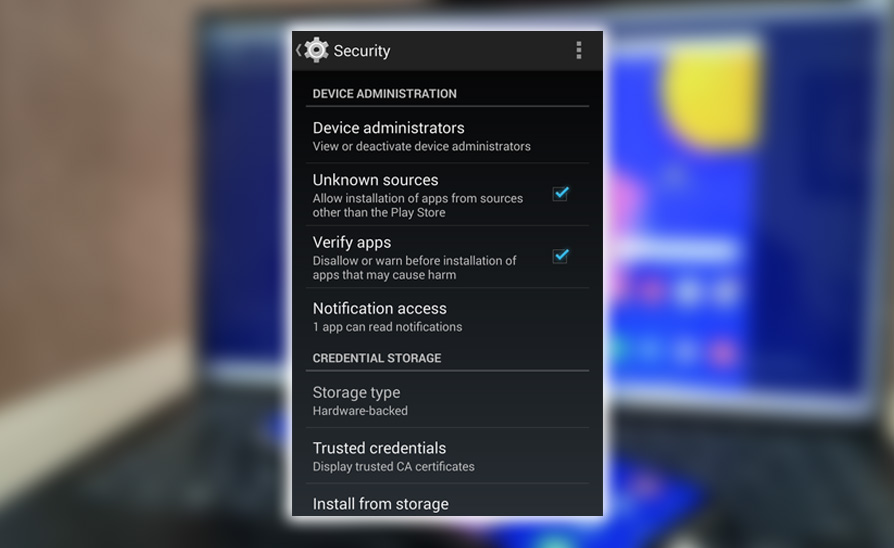
Sideloading Apps: Sometimes, you’ll want to install an application that’s either unavailable on Play Store in your location or removed from the store, like the trendy Flappy Bird game. The ADB install command will install an App file onto your Android device. As long as you have enabled the installation of apps from unknown sources in settings.
Setting up ADB
To set up ADB on your computer, you’ll need to install the Android SDK, which you can download from the Android SDK site. Click the big Download the SDK button to begin the download.
You’ll need to extract the file. We recommend doing so directly to your C: drive. Since it will save you a lot of time navigating to subfolders to issue ADB commands. Once complete, double-click the SDK Manager.exe file and install the default packages.

To connect your phone, you’ll need to install either the USB Driver for Nexus devices or the OEM USB driver for your particular phone. For a walkthrough on installing a USB Driver, follow this handy guide. You won’t need this driver if you’re on OS X or Linux. Next, you’ll need to enable ADB debugging on your device. You’ll find the option in different locations depending on which version of Android you have:
- Android 3.2 or older – Settings > Applications > Development
- Android 4.0 4.1 – Settings > Developer Options
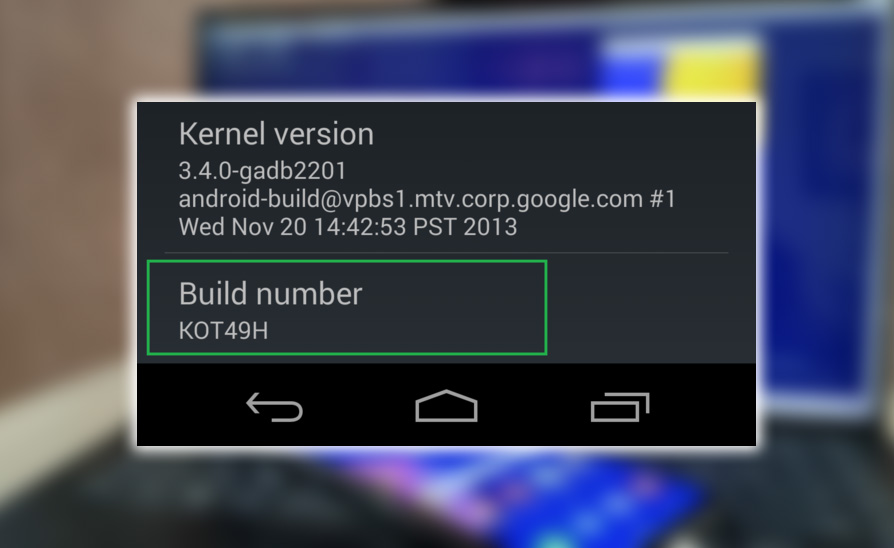
- Android 4.2 – Settings > Developer Options, but Developer Options is hidden by default, so you’ll need to go to Settings and tap About. And seven times on the Build Number to unlock Developer Options.
What To Do
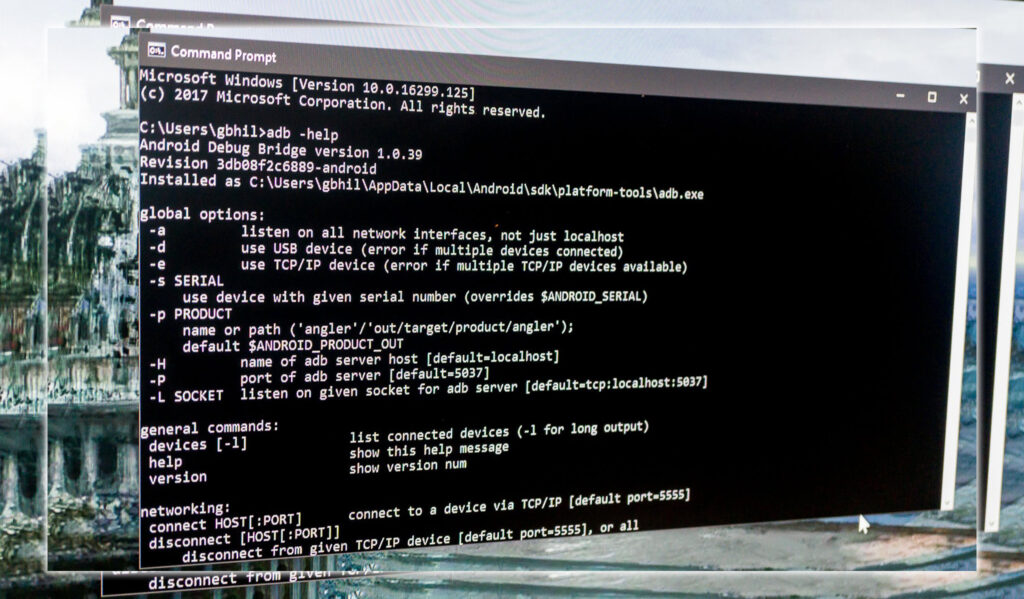
Once you have Developer Options enabled. Plug your phone into your computer’s USB port and wait for the driver to install. After it’s installed, open a Command prompt window, and enter the following command to navigate to the platform-tools folder:
cd C:adt-bundle-windows-x86_64-20131030adt-bundle-windows-x86_64-20131030sdkplatform-tools
On OS X, you’d use Terminal. Of course, you’ll need to change the location to match where you extracted the developer tools.
Now, you’re in the file location that contains the ADB file. This lets you issue ADB commands to your Android device. Type ADB devices and hit enter to run the device commands.

If you see a device listed, you have successfully connected your phone or tablet. You should now be able to issue ADB commands. To learn more about the commands, you can give, check out the ADB page.
Connecting your phone or tablet to your computer via ADB is the first step into a larger world. Once you can access your device as developers do. You’ll find all sorts of things you can change, customize, and tweak to your liking. A word of warning, you can also permanently mess up your device. So make sure you have a backup!


