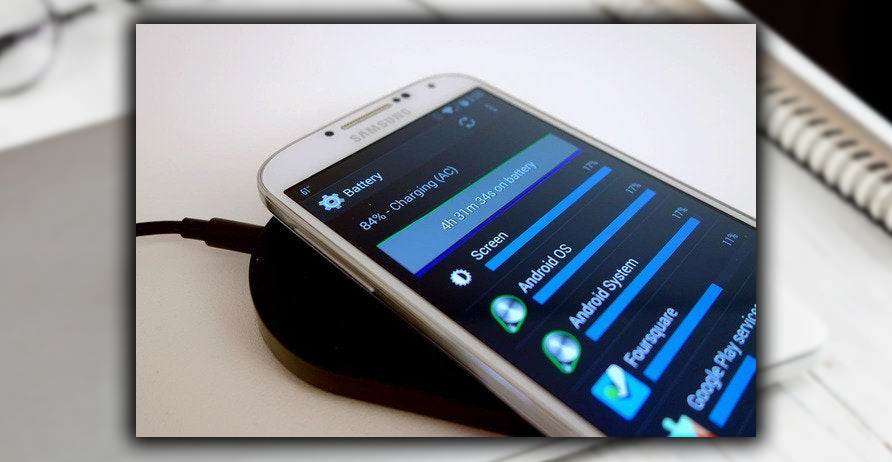
1. Procure a Wireless Charging Receiver
Amazon is chock full of wireless charging receiver kits for the Galaxy S4. They range from about $10 to $40, maybe more if they come with a charging pad. Samsung is in bed with the Qi charging standard. Many compatible charging pads exist. With Nokia, Asus, HTC, Huawei, Motorola, and Sony supporting Qi, there are many great options.
You’ll want to pay attention to the thickness of the receiver you buy. I chose this model, it’s skinny and wouldn’t cause the rear case on my GS4 to bulge. Samsung sells an official upgrade integrated in a new plastic back for your phone, and adds a bit of thickness.
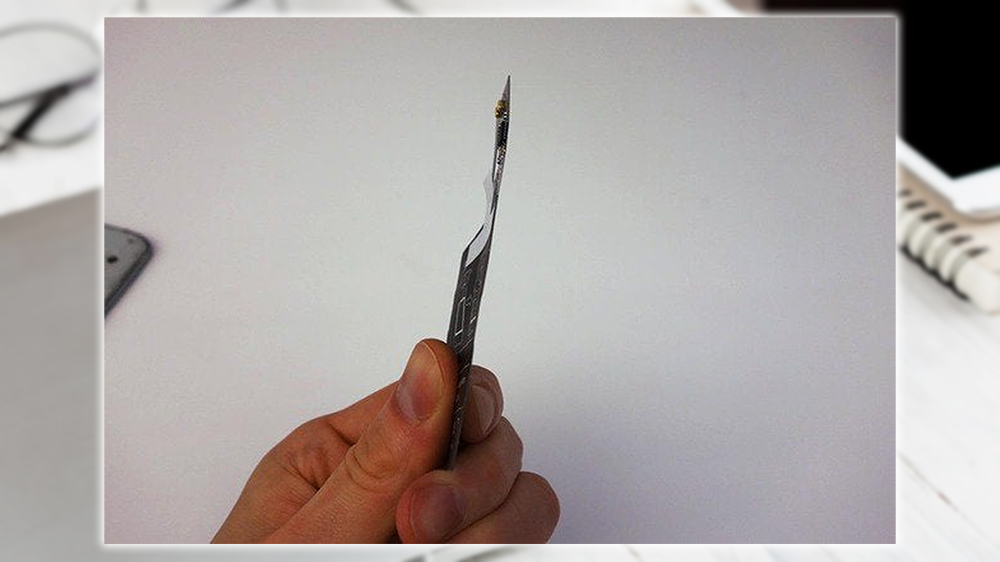
2. Take Off the Cover
Turn off your phone, and remove the back cover. Just pry your fingernail in there and pull that sucker off.
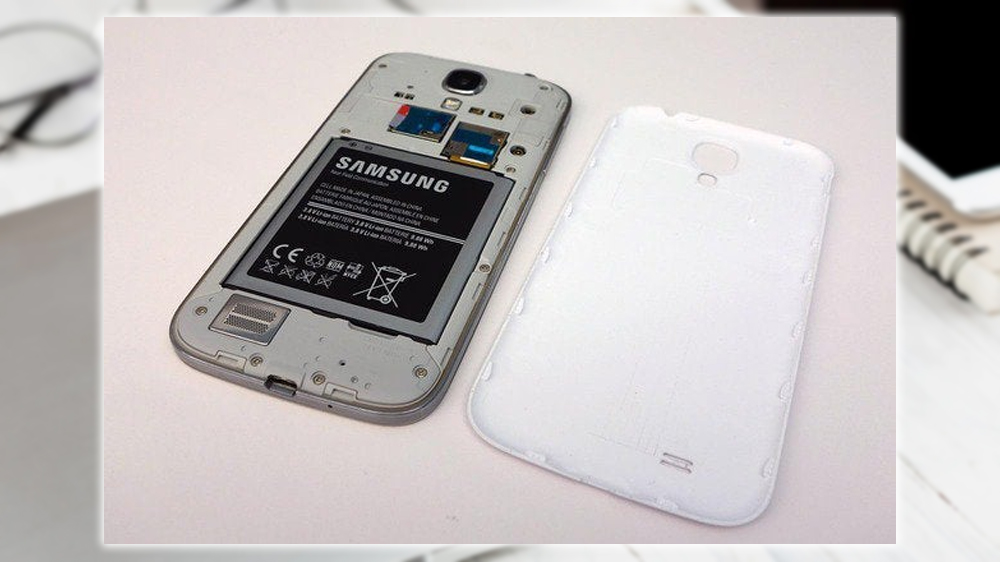
3. Line Up the Receiver to the Little Holes
See these little holes here?
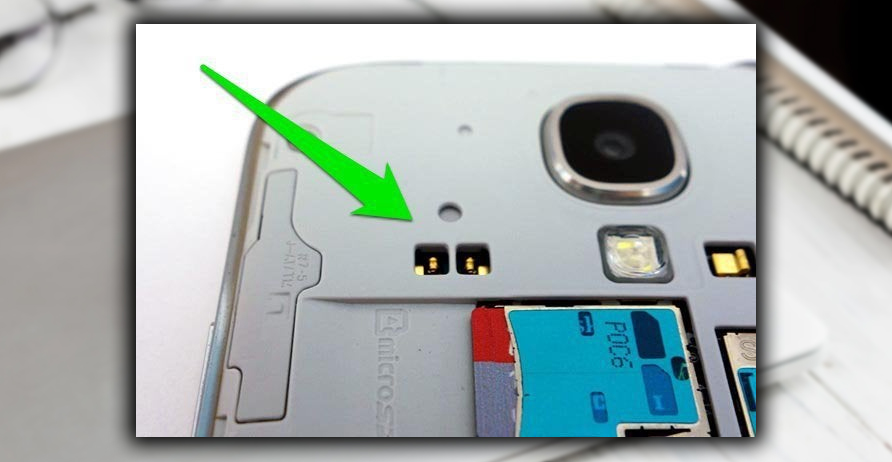
You’re going to line them up with the little metal prongs on the receiver, here.
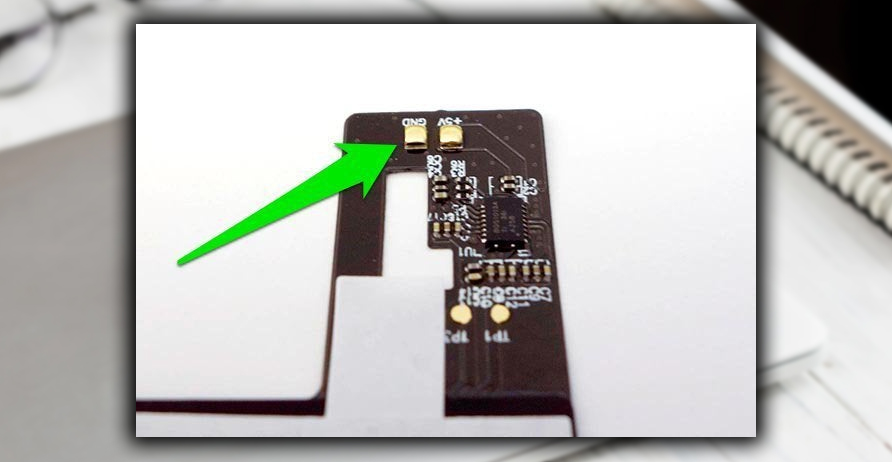
4. Lay it Out Over the Battery
The receiver lays out flat down over the battery. It looks like this.
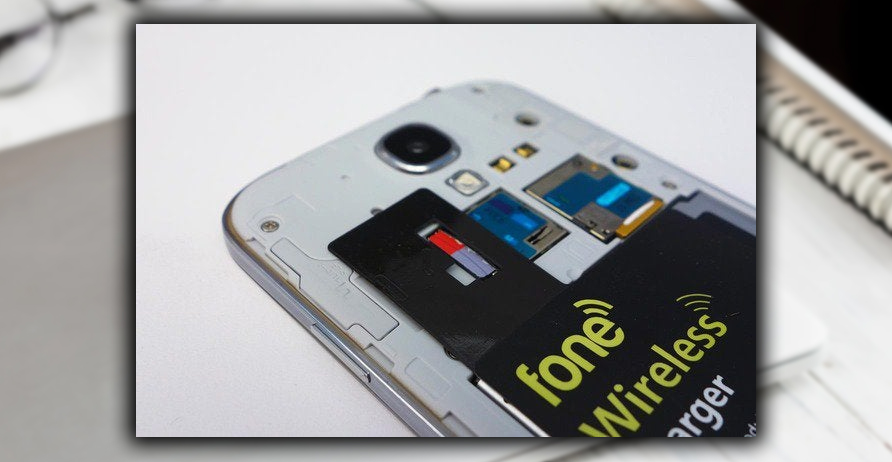
And another view. See how easy that was?
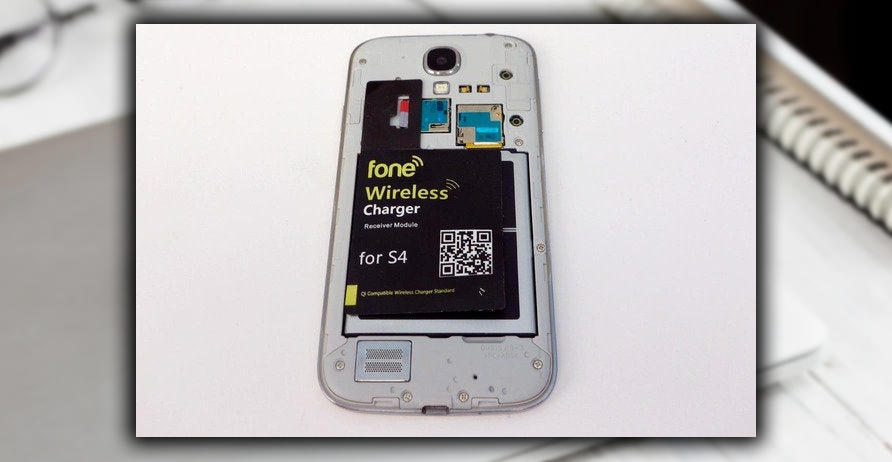
5. Put the Cover Back On
This is starting to get silly. You were all done back on step 3, and you know it. Your phone can now sit on any Qi wireless charger, and it’ll work. Honest! Just like the recent Nexus devices, HTC phones, and Nokia Lumia phones.
