Tablets, and Smartphones, look different on the outside. But on the inside, they rely on the same components; a processor, a memory, a storage volume that holds an operating system, device drivers, and applications. Your phone or tablet has smaller screens and fewer peripherals than a typical computer has. But you still tap, clicking through your data before pulling out a keyboard. Albeit a virtual one to get real work done.
Mobile devices can become clogged with orphaned apps, boatloads of images or personal files, and other ROM bits of junk data. Then, the device may slow down, run out of storage space, or behave erratically. To deal with these problems on an Android tablet or phone, you must know how to monitor, manage resources, move or delete data, and repair or remove awkward apps. Here’s how to handle those tasks.
Assess the Situation
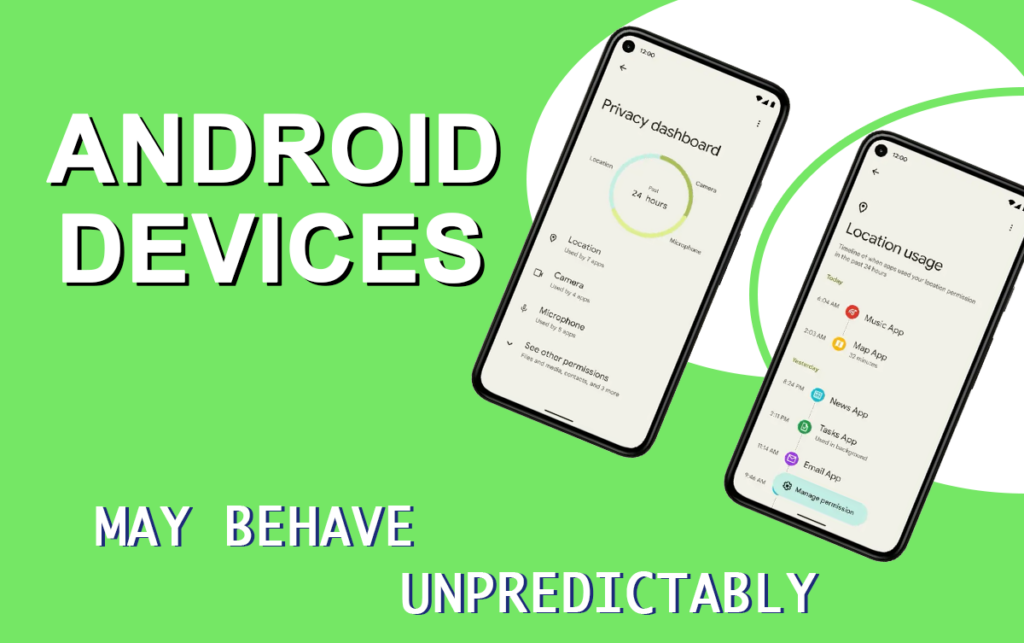
Android devices may behave unpredictably as they run short of storage space or memory. Symptoms that may happen on your device include apps that randomly crash or won’t load; and an inability to save new pictures or videos. To see whether you’re running low on space or memory, open the storage system monitors built into Android. Note: The menus I refer to may differ cosmetically from those on each device, depending on the version of Android you’re running, but accessing them should be similar.
First, remove the notification shade, open your app drawer, and tap the Settings icon. It usually looks like gear. Scroll down the long list of settings until you see a menu item labeled Storage. Tap the Storage icon; you should see an informative list detailing the storage space amounts. Currently occupied by the device’s applications, pictures, video, audio files, ringtones, downloads, and miscellaneous files. It also indicates the device’s total storage space and remaining available space.
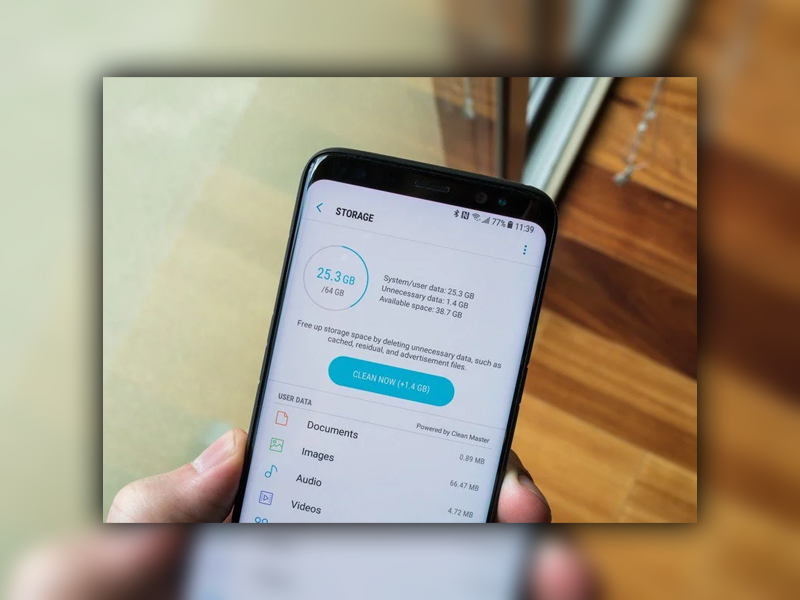
Check Storage
In the Storage menu, you can monitor how much storage space is left on your device. But you can’t do much else except format a storage volume. You won’t be able to do unless you’re wiping the device clean. To make changes to the device without wiping anything out, you’ll need to use Application Manager, Android’s built-in app manager. To access it, go to Settings; scroll down the list of options to Application Manager. Tap it on some devices. You may have to tap the Applications or Manage Applications. The Application Manager will open, and you can swipe to reveal three columns of apps, Downloaded, Running, and All.
The Application Manager in the Android system settings menu lets you forcibly stop shut down most applications.
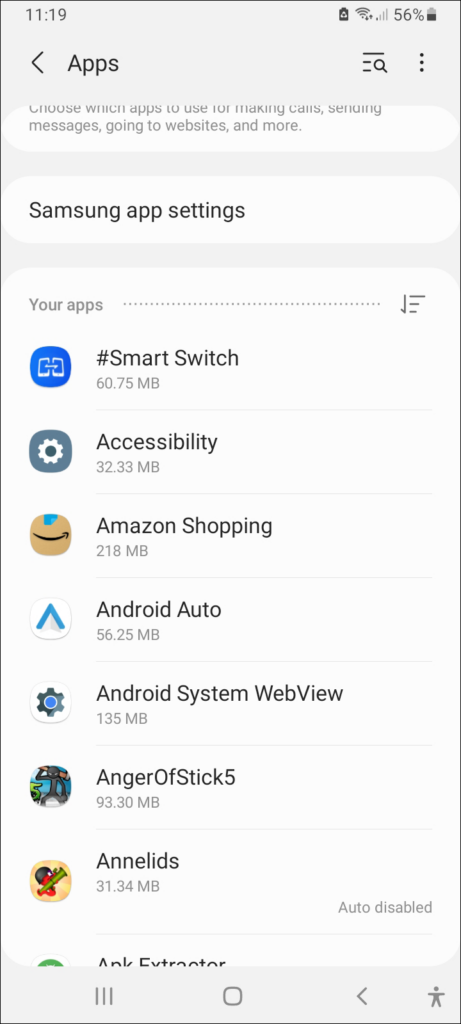
The list of Downloaded apps will show all of the apps you’ve downloaded from the Play store and many of the stand-alone apps that your carrier or device manufacturer installed. The running app lists are self-explanatory. At the bottom of the Download column, you’ll see the amount of storage space the app uses; at the bottom of the Running column, the cumulative amount of memory that all apps use appears.

Clear the Cache
Tapping an app in the Downloaded or all column will reveal a menu with various options. Including choices to force-stop an app, kill it, free up memory, uninstall it, or clear cache app data. If you want to remove an app, simply tap the Uninstall button. Suppose you’re trying to rehabilitate an app that’s no longer running correctly. However, the Clear cache and Clear data buttons may resolve the issues in that case.
Tapping the Clear cache button will wipe out any cached data or files associated with the app, forcing the recaching of fresh copies. Tapping the Clear data button will delete all personal data related to an app, including login data and high scores for various games. The app should return to its freshly downloaded condition. If the app malfunctions, first tap Clear cache. And that doesn’t help, tap Clear data. If that fails to solve the problem, try uninstalling the app by tapping Uninstall, restarting your device, and reinstalling the app.
Removing and Relocating Apps Data
As I’ve mentioned, uninstalling an app is as easy as opening Android’s Application Manager, tapping the app in the All apps list, then tapping Uninstall.
Unfortunately, some apps the manufacturer preinstalled on your device may be embedded. You can’t uninstall them unless you have root access to the phone or custom firmware.
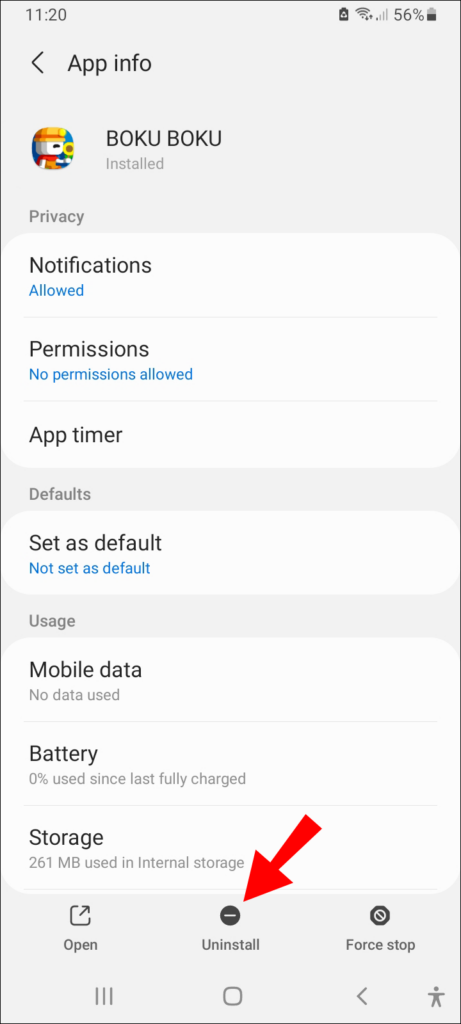
Uninstalling an Android application is as simple as navigating to the Application Manager, finding the app, tapping Uninstall.
Instead of uninstalling apps to free up internal storage space on your device, you can move apps to a MicroSD card. Newer devices running Android Ice Cream Sandwich (ICS) or Jelly Bean may not let you install apps on an SD Card. Still, older versions of Android have the SD Card installation feature built-in.
App 2 SD
Before you move any apps, be aware that any app with an associated home-screen widget or requiring access to specific Android system files won’t function. When installed on an SD Card. If you’re unsure which apps you can safely move, you might want to download an app from the Play store called AppMgr III (App 2 SD). This simple tool scans the apps installed on your device. And lists the ones that you can transfer to SD Card without hazard.
To move an app, you can tap it in App 2 SD, which will open the app’s properties in the Application Manager. Once there, tap Force stop and the Move to SD button available in the Storage section. After a few moments, the app will reside on your SD Card.
Many versions of Android let you move non-system applications, and personal data to an external MicroSD card to conserve internal storage space. The App 2 SD app lets you know which apps are safe to move.
Use a Micro SD
Unless you have a ton of them installed, apps probably aren’t the most significant storage space hogs on your device. Photo video files take up much more space than apps, so moving them to an SD Card is worth moving. To ensure your device stores new photos and videos on your SD Card automatically. Open your camera app and navigate its settings menu. This will vary from device to device.
In the settings menu, navigate to the Storage section. Change the option from Phone or Internal Storage to Memory Card. Suppose you’d also like to move your existing photos and videos. In that case, you can easily connect your device to a computer via a USB cable. The computer should recognize your phone or tablet as a removable storage device. You can move the picture folder from the device’s internal storage to the SD Card by dragging it over.
If you want to complete the process on the phone without using another source, open the file manager included on your device. If your device doesn’t have one, you can find plenty of them in the Play Store; browse your picture/video folder. Tap hold it, and in the resulting menu, select Move. And scan your SD Card, and tap the Move Here icon.
Desperate Measures
If your Android device won’t boot properly or is otherwise unusable. Clearing the device’s cache partition or restoring it to factory defaults may be your only option. Android-based smartphones and tablets usually come with a built-in recovery tool. You can use it to perform maintenance operations or restore the device’s software to like-new condition. The procedure for entering recovery mode varies from device to device. Still, it usually entails powering the phone down and holding some combination of buttons while powering the machine back on. For example, you launch recovery mode on a Samsung Galaxy Note II by powering down the phone. Then holding the home volume up buttons while simultaneously pressing the power button.
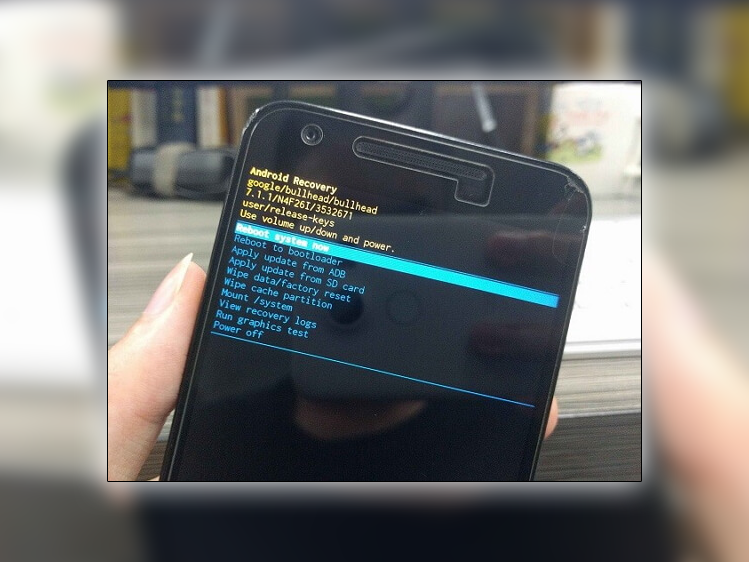
Android devices have a built-in Recovery partition System Recovery utility. You can use to perform maintenance or to wipe the device of data to restore it to fresh-from-the-factory condition.
Recovery
Once your device enters recovery mode. You’ll see a primary menu containing a few options for applying updates or wiping various partitions. You’ll most likely navigate the menu with your device’s volume up and down buttons. Press the power button to select an item before wiping all data and performing a factory reset. It’s a good idea to wipe the cache partition alone since this less extreme step occasionally resolves stability issues. Pinging the cache partition removes app components, temporary files, and other bits of data stored in the cache. Still, the cache will automatically be rebuilt with new data when you reboot your phone and begin using your apps.
If you still have issues with your Android device after trying every other fix described here. Wiping the cache data partitions and returning it to its factory will restore the device’s software to like-new condition. But consider this your last resort. Wiping data and restoring factory presets is akin to reformatting your hard drive and installing a clean copy of Windows. You’ll lose every bit of personal data stored on the device’s internal memory. And will have to reinstall all of your apps.
If that outcome is acceptable, enter recovery mode on your device. And choose the options to wipe the cache and data. Rebooting your device will behave like you were powering it up for the first time.


