The Official Method

All phones and tablets on Android 4.4 can create and save screen recordings as .mp4 videos. But you first need to get going with the ADB developer tools. We’ve got a complete guide on how to get ADB working, so I won’t go into detail. Just plug your device into a USB cable and get your ADB console up. You’re ready to start recording if you see the widget appear. When you enter ADB devices in the command prompt or terminal.
The basic command for screen recording is; ADB shell screen record. You’ll add onto that a file path name like /sdcard/movie.mp4. This begins screen recording immediately when you press enter. The limit for these videos is 180 seconds (3 minutes). But you can stop the recording at any time by pressing ctrl+c in the ADB console. The video will be at the device’s native resolution 4Mbps. One major drawback; you don’t get audio with the video.
These real videos look okay, but you can do better with a few ADB command modifiers. Using bit-rate lets, you specify a higher or lower quality in kilobits. So entering ADB shell screen record /sdcard/movie.mp4 –bit-rate 8000000 gets you a very crisp 8Mbps video. You can also use size <width x height> to change the resolution of the video. You can see why this is a developer tool.
The Root Way
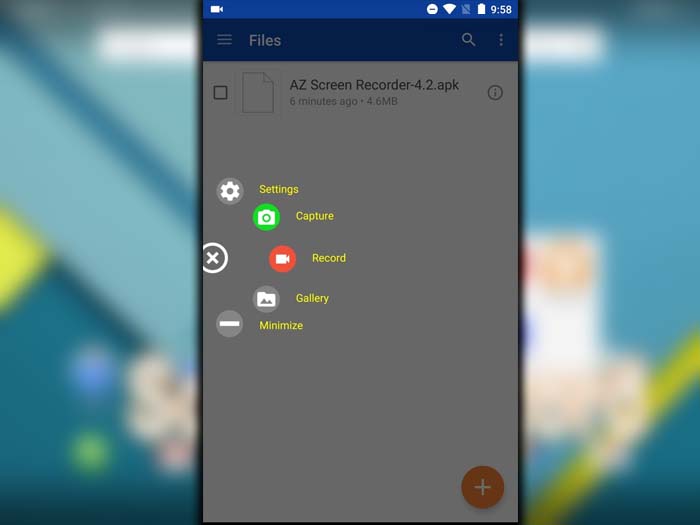
Paradoxically, taking a screen recording becomes more manageable if you’ve gone through the sometimes complicated process of rooting your device. A handful of apps can trigger the native screen recording functionality without messing around in a command line. You get more control over settings, and the device doesn’t have to be tethered to a computer. Rec is one of the best root-required screen recorders because it has a very reliable, slick, easy-to-use interface. You can set the bitrate, stop recordings by shaking the device, and automatically toggle Show touchpoints for each video. This app can mix audio captured from the microphone, not internal audio.

A more advanced option, but less user-friendly, is Screen Recorder. This app gives you control over bitrate, resolution, and all the other stuff. Still, it can also record the audio at the system level. Both Screen and Rec are far better than past root screen recorders. Because they are plugging into a native Android tool. Even if they need root to make it happen. Even if you don’t have roots. You can create great-looking videos in a few minutes once you get the kinks worked out. Now, if only Google would make screen recording a simple and user-accessible feature of the next Android release.


