How to Use Your Android Tablet as a Second Laptop Screen

BY

Published 7 Jul 2014

NSFW AI Why trust Greenbot

We maintain a strict editorial policy dedicated to factual accuracy, relevance, and impartiality. Our content is written and edited by top industry professionals with first-hand experience. The content undergoes thorough review by experienced editors to guarantee and adherence to the highest standards of reporting and publishing.

Disclosure
There’s no denying that multiple monitors are a boost to productivity. It’s convenient and lets you check more windows. Hence, none of those necessary interruptions go unanswered. But in an age of ubiquitous laptops, the whole multi-monitor thing ties you down. It’s not like you’ll lug around a monitor to use as a display with your computer. Fortunately, a smaller, lighter alternative is to use your Android tablet as an overflow screen. You can use the Android device for touchscreen computer input. The display app that lets you accomplish this is compatible with OS X and Windows. Here’s a step-by-step guide to getting your Android-powered second display up and running in Windows.

Download

Step 1: Install and download Shape’s iDisplay (Free).
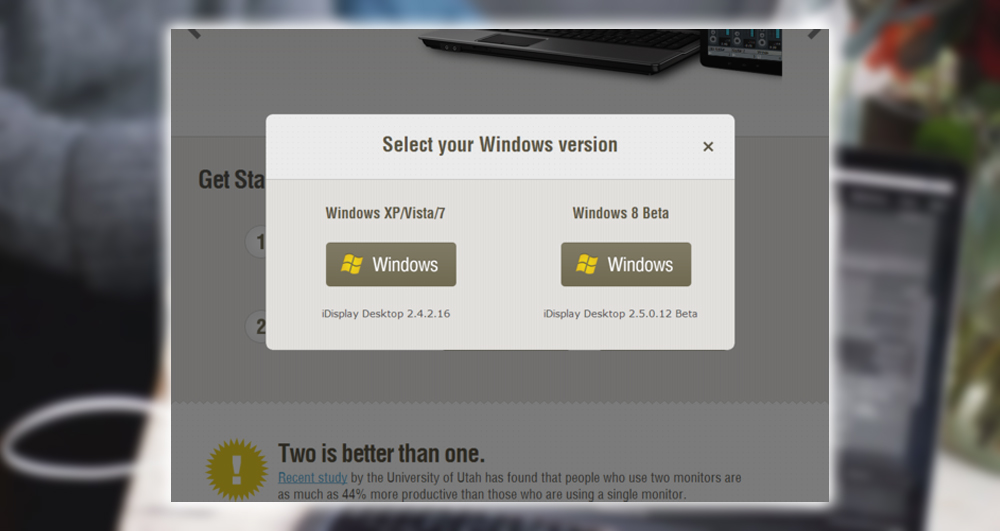
Step 2: On your go to getidisplay.com, click on the Windows download button and choose your Windows operating system on the resulting page.
software 1                                    The Windows /Mac portion of the software is free.

Notifications

Step 3: Follow the prompts to install the software drivers. Restart your Computer when prompted. Allow the installed software to gain access through the Computer’s firewall. Clicking the allow Access button on the Windows Security Alert dialog when the Computer restarts.
Step 4: Ensure your Android device is connected to the same local network.Step 5: Click ok for the iDisplay icon in the Taskbar Notifications Area on your Computer. Please hover your mouse over it; you’ll see an IP address and, port serial number. Write them down precisely.
software 2
Depending on your configuration, the connection list may auto-populate, you can ignore all that IP address stuff.

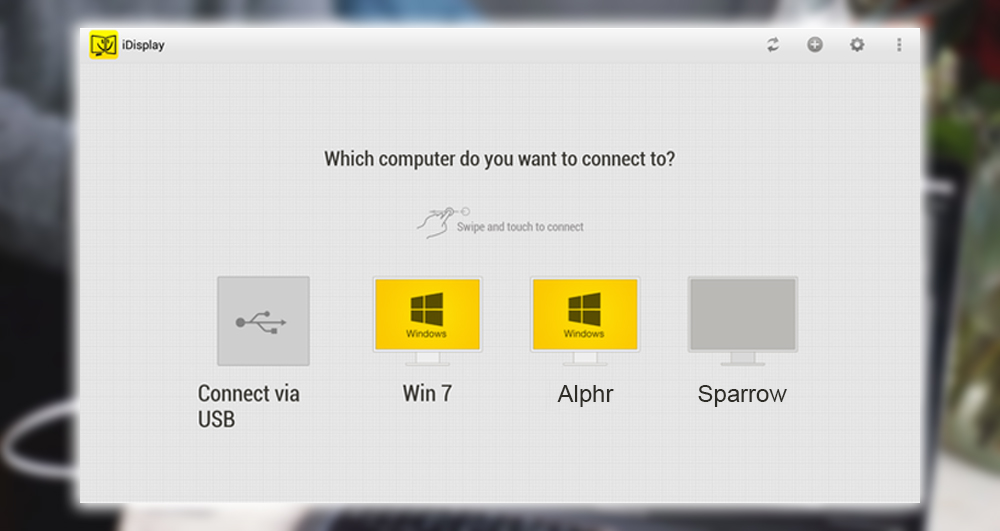
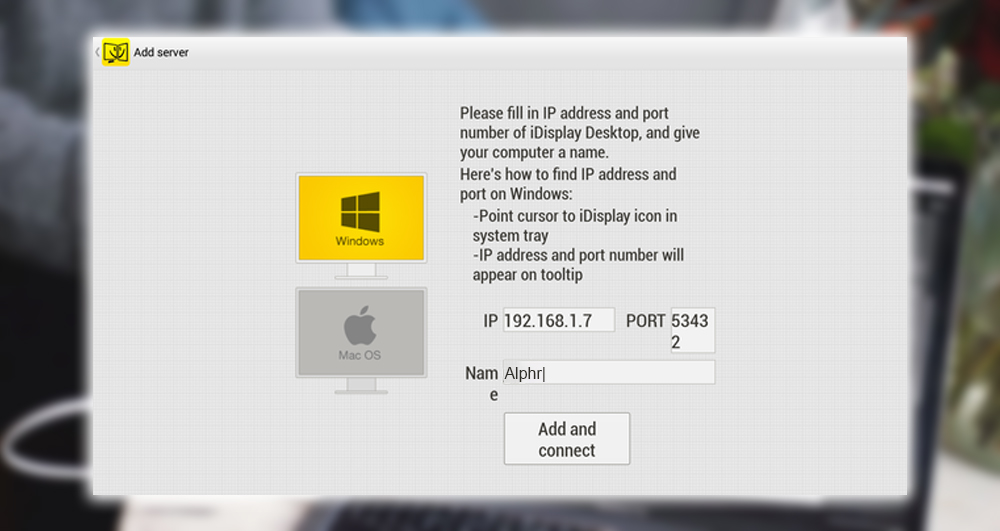
Step 6: Launch the iDisplay app on your Android device. Touch the + button. Enter the IP address, port, and description you’d like to give your device. Your configuration may not even require this step. It automatically connects your device when you start the app. When you connect a dialog box pops up to allow connection.
software 3
Enter the IP address, and give the computer a name.

Step 7: A blank, extended desktop will appear on the Android device. Visually locate the mouse pointer, and move it between screens with the computer’s mouse. Take over control movement with your finger as the mouse pointer transitions to the touchscreen of the Android device.
software 4
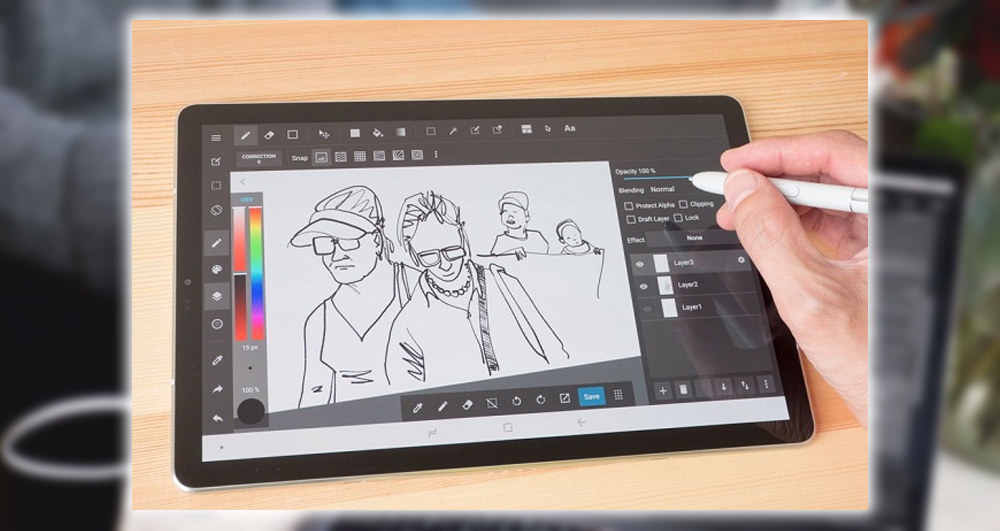
Use your Android tablet to draw in your Windows apps.

Android To Desktop

That’s all there is to it! Launch a program on the computer, drag it to your Android device. And interact with it using touch. A long press to get the right-click context menus to pop up, and swipe with two fingers to scroll. One tap on the Android screen will place the mouse pointer on that screen. Touching the trackpad or mouse will relocate the mouse pointer onto the computer screen. You can use the computer keyboard to enter text in programs on the Android device screen.
Click Disconnect in the iDisplay notification icon in the Taskbar Notifications Area on the desktop to close the connection. Use the back button on your Android device to close the app.