Tethered
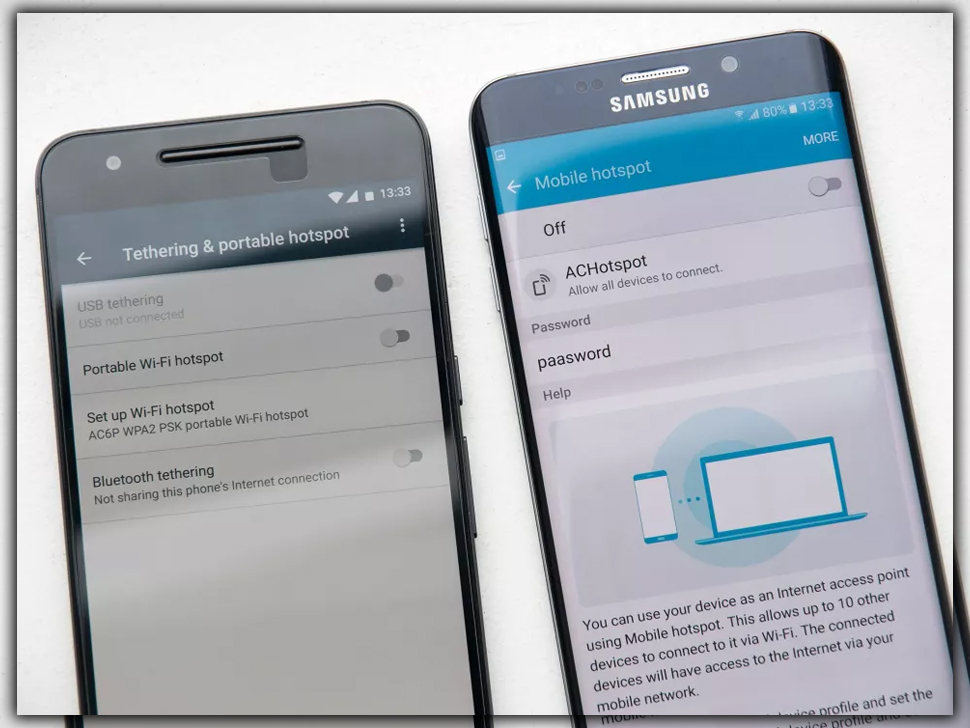
Head over to the Wireless & networks section of Settings to start the setup process. Click the three More dots below Data usage. You’ll see a section called Tethering & portable hotspot. Tap it, and you’re in.


Inside you’ll find four options. The first is USB tethering, requires a USB cable; it’ll be grayed out if one isn’t plugged in. To use it, connect your phone to your laptop via USB and toggle the switch to begin sharing your connection. If your plan supports it, an icon will appear in the quick settings panel, and you’ll be ready to go.
Wireless
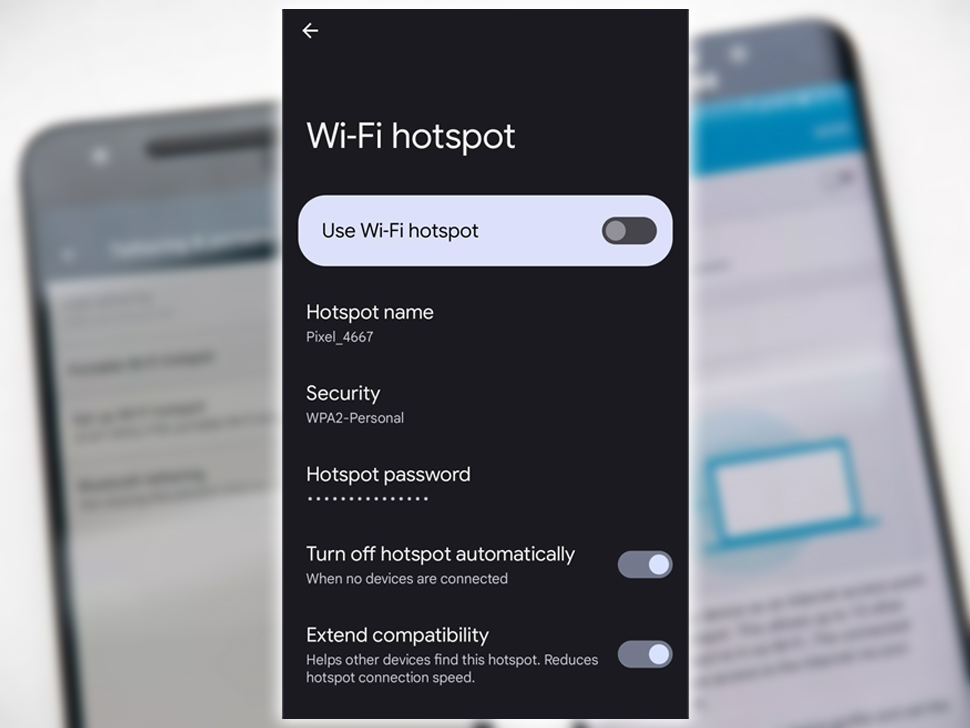
Next up is a Portable Wi-Fi hotspot. Toggle it on, and you’ll see a message below it; Portable hotspot Android active. This will be the temporary name of your Wi-Fi network; if you go to your laptop Wi-Fi panel. You’ll see Android in the list of available networks. Select it, you’ll have to fill in a password before it can connect.


You’ll need to head to the third option, Set up a Wi-Fi hotspot. Tap it you’ll be able to edit the network SSID name and disable the Lock security. If you do not want to, switch the hub frequency from 2.5GHz to 5GHz. You’ll also be able to change the password or write down the default one by checking the Show password box. You’re done tweaking, press save then turn the hotspot on. Then it’s just a matter of selecting the network, Android, or whatever you’ve renamed on your other device. Typing in the auto-generated password or the one you’ve changed it to.


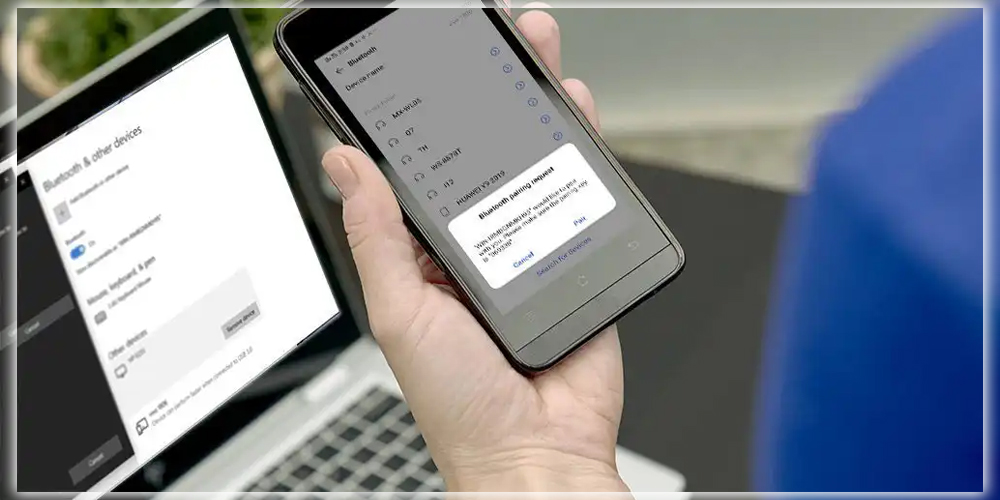
The final option is Bluetooth tethering; it’s the same as USB tethering except without the cable. After you flip it on, you’ll need to take a trip to Bluetooth settings. On your laptop or tablet to pair it with your phone. Once you identify your phone in the Bluetooth panel. Press it, then head over to the Bluetooth settings on your phone. The two devices have successfully linked. In that case, you’ll get matching verification codes allowing the two devices to connect. Select it when prompted, and you’re on your way.


