Tune Your Notifications
This first step will be familiar to long-time Android users. Go into the main system settings and find the Security menu. From there, change the screen lock type to something other than swipe, maybe Pin Number, pattern, password. Or whatever you want. Remember that if your device is encrypted, you’ll need to enter this code when starting up.

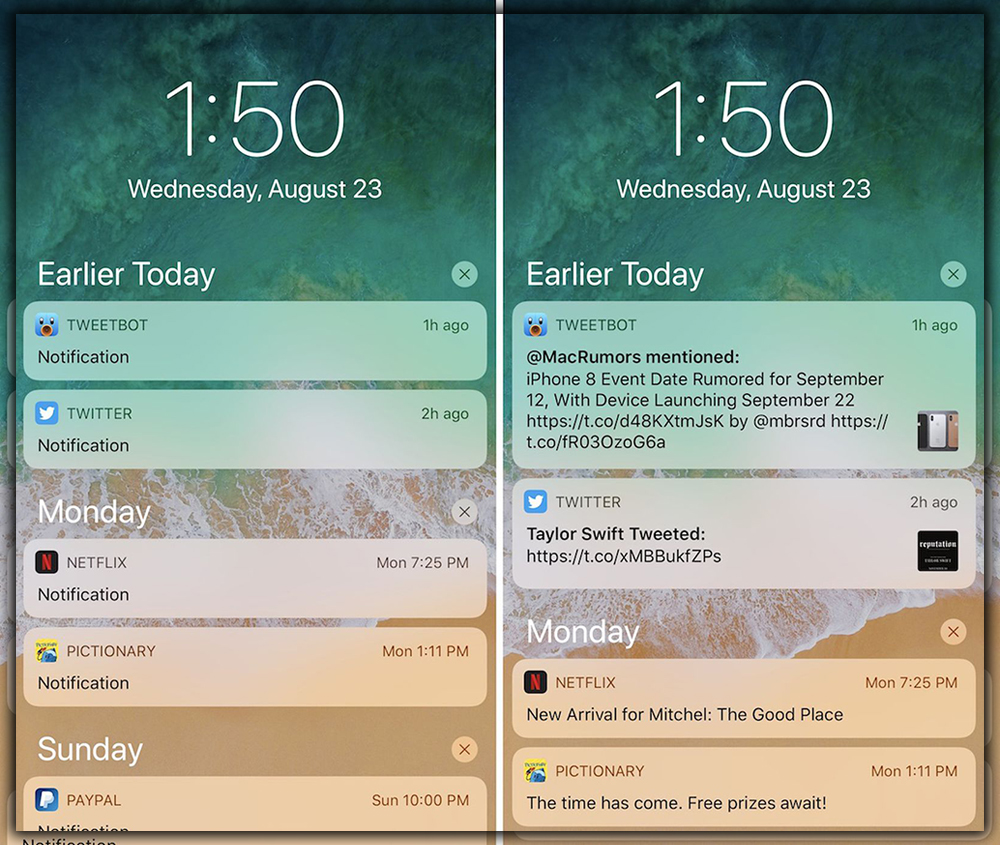
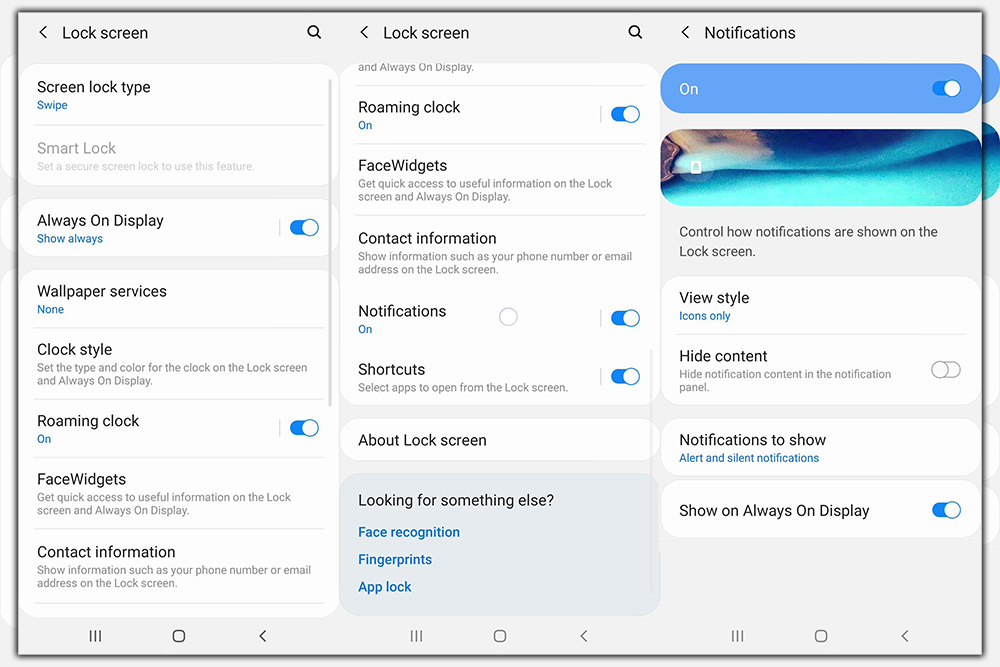
Where things take an unexpected turn is after setting the code. You will be asked what sort of notifications you want available on the lock screen. You can have them all shown, only non-sensitive content, or none. Don’t worry; this is not an irrevocable choice. You can go into the Sound Notification menu anytime to change this global setting. So what does sensitive content mean, anyway? You can pick any app to set its notifications as sensitive. Preventing any notification text from appearing on the lock screen. There are a few ways to reach the right menu. The easiest way to manage multiple apps is to go into Sound Notifications and scroll to the bottom. This is where you’ll find the option to change the global notification security mentioned above. Still, we’re looking for the App Notifications line.

Sensitive Apps
The App Notifications list shows all your installed apps. Select the ones you want to set as sensitive, and set the Sensitive switch to the on position. Your secrets will be safe. You’ll still get notifications. But they’ll say, for example, that you have 2 new emails rather than listing the subject lines. You can also access an app’s notification settings by long pressing on one of its notifications. And tapping the info button that appears. This gets you to the same menu in a single tap.
Smarter Smart Lock
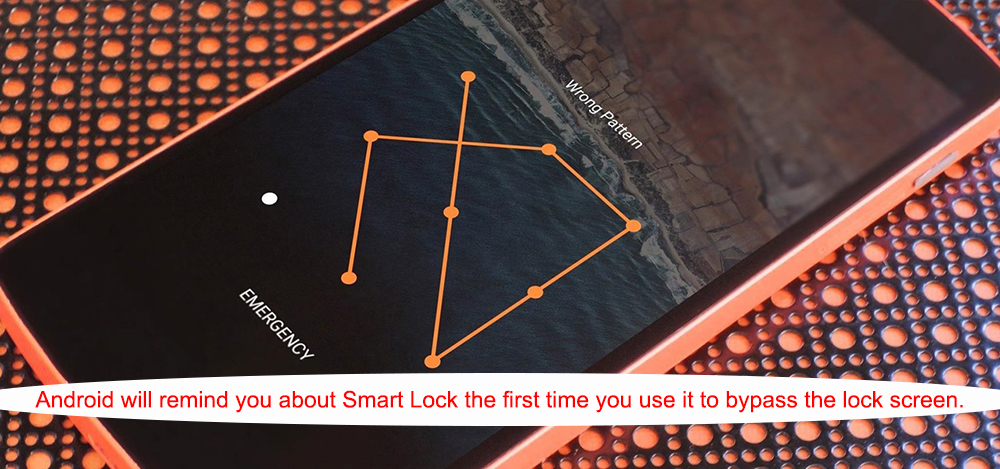
You may have noticed the lack of face unlock in the security options. That’s because Android had completely revamped that feature as part of the new Smart Lock system. There are currently three features in Smart Lock, trusted devices, faces, and places. That last one is still rolling out via a Play Services update. These options bypass your pin, pattern, or password, temporarily defaulting back to the simple swipe-up unlock gesture.

Trusted Devices
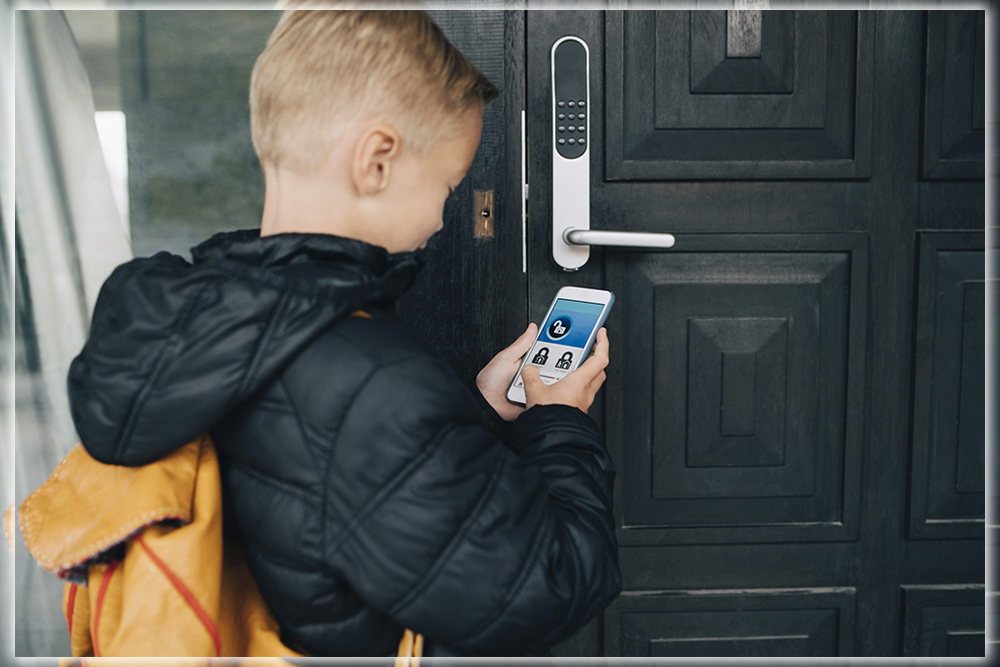
Trusted devices let you specify a Bluetooth device or NFC tag that will keep the phone unlocked. When the phone is connected to it. A trusted face takes the place of other options to open, but the setup process is much the same. You position the viewfinder, so it can see your face and wait a moment. When you wake up the phone, it can look for your face in the background. While you check out the notifications on the lock screen. If it spots you, the lock screen switches on the fly to a simple swipe. You’ll see the little padlock icon at the bottom change to show that it’s unlocked. It’s very clever.
The last option, trusted places, has toggles for your home and work addresses if you’ve set them in Maps. But you can also add a manual location. If you’re in that area, the phone will remain unlocked. Should the phone leave that geofence, the secure lock screen reasserts itself. The other Smart Lock options can be temporarily disabled. Pressing the lock icon at the bottom of the lock screen. That will force a secure unlock the next time the phone is used.

Android has vastly expanded your options in Android 5.0. It can be a little intimidating; it takes a few minutes to set everything up, you can then enjoy the peace of mind it brings. With the correct settings, you can have a more secure phone, making it faster and easier to use.


